Go to https://scienceofthetime.com.com/cool-tech/explore, click on CREATE at the bottom of the page and sign up. Within 48 hours you will be registered and you will receive a confirmation e-mail. When signing up, please use a private e-mail address instead of your student e-mail address.
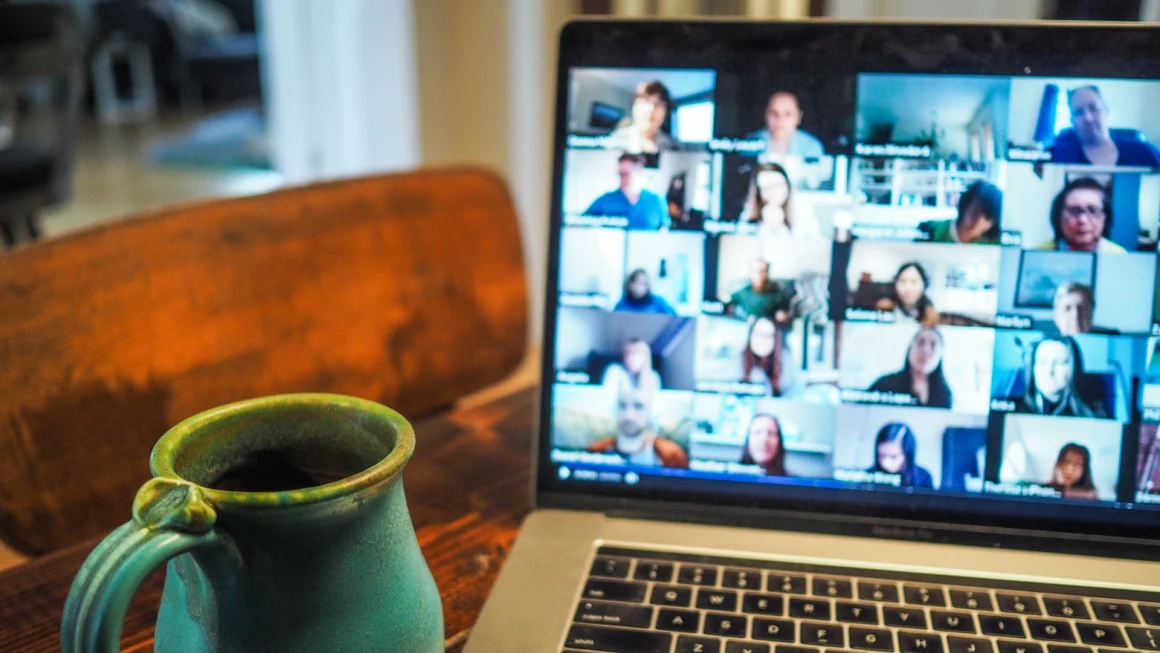
Productive in fullscreen mode
You will not be distracted while writing
BE PRODUCTIVE WITH
Our Workspace
Powerful Media Management
Secure and Private
Easy to Use
Real progress/results
High Performance
Amazingly responsive
Beauty and Technology in an easy to use platform
Basic Info about us
We are here to destress and make you more productive
Go to https://scienceofthetime.com/cool-tech/explore/ here you will see an overview of all the posted Seeds. Then choose to Log in and go to ‘New Post’,
Use ‘Publish’ twice to upload your own seeds. Go through the 2 steps and you can publish your seed!
Videolinks from Youtube and Vimeo work worldwide. Try to use these formats when inserting a video. Besides the video always upload a featured image!
01.
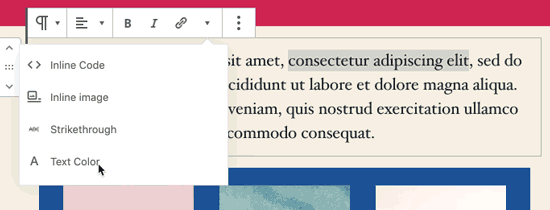
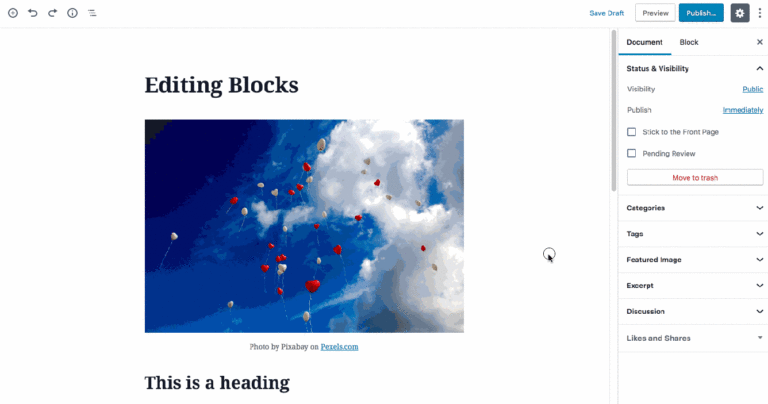
Content Area
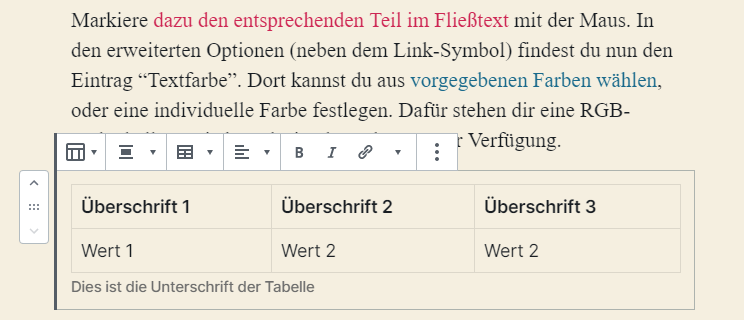
Underneath the Block Editor Toolbar you’ll find your content area. This is where you’ll add all your content, comprised of various types of blocks. Each block that you add into your content area, will have its own toolbar, and will either display just above the block (by default) or in the main Block Editor Toolbar at the top of the screen (if the Top Toolbar option is turned on).
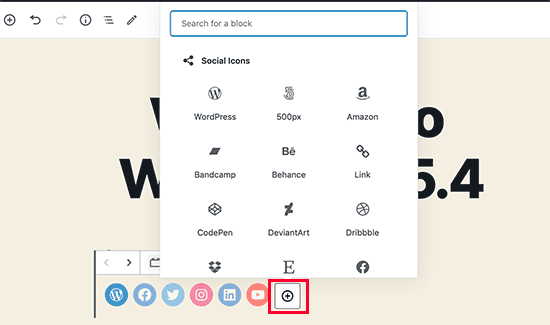
02.
Block Insert
The Block + Inserter icon is used to insert new blocks into your content. Clicking this icon will pop open a small panel that gives you access to all the different types of blocks that you can insert.
03.
Block Selection
After clicking on, or selecting a block, you may even find there are extra options that you can set in the Settings Sidebar. Again this will depend on the individual block that you’ve selected.
04.
Settings
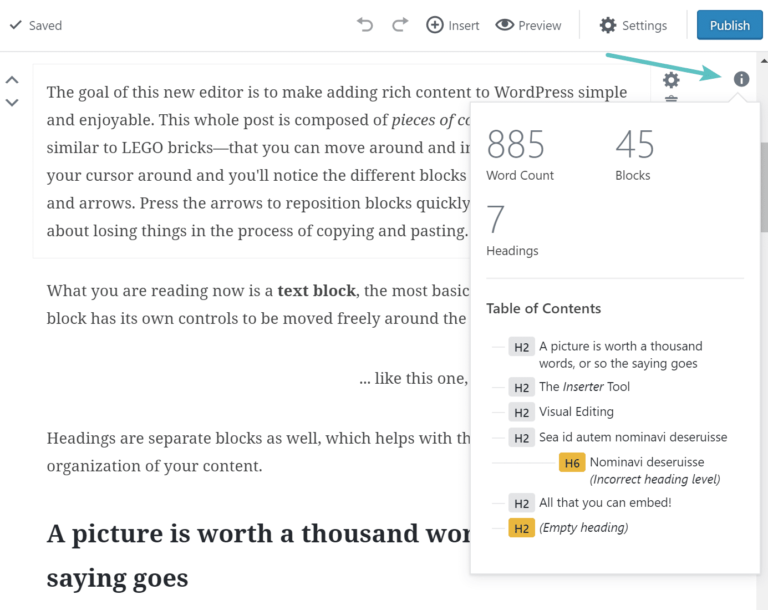
The Settings Sidebar shows all the settings for your Post including elements like adding Featured Images, specifying your Categories and Tags on Posts. Clicking the Settings icon will show and hide the settings sidebar.
05.
Publish
The Publish button allows you to publish your Post. Publishing your post is a two-step process. After clicking the Publish button the first time you’re then shown a new panel with a confirmation message and another Publish button. This panel also allows you to change the visibility of your content and the publish date and time. Clicking this second Publish button will actually publish your content and make it live.
06.
Update
If your content is published, then the Publish button will be replaced with an Update button. Clicking the Update button saves your changes.
What You See Is What You Get
Some people dream of great accomplishments, others stay awake and do them.
The Publish button allows you to publish your Post. Publishing your post is a two-step process. After clicking the Publish button the first time you’re then shown a new panel with a confirmation message and another Publish button. This panel also allows you to change the visibility of your content and the publish date and time. Clicking this second Publish button will actually publish your content and make it live.
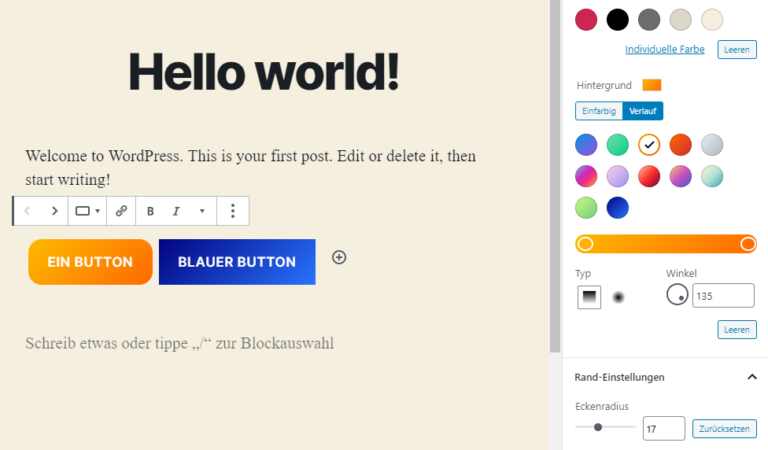
Component Based Blocks
Content is written in clear to see blocks
Categories Selection
All categories can be selected on the righthand side